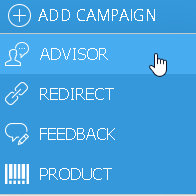
Adding Advisor Campaigns
Advisor Campaigns can be used to lead users directly to the products they want and help them with the decision making progress.
This article guides you step by step througt the process of creating a new advisor campaign.
1. Add a new Advisor Campaign and choose its Name, Timeframe and Trigger
The first three steps of creating a new campaign are always identical, independant of campaign type. See: Adding Campaigns.
Click Next to progress.
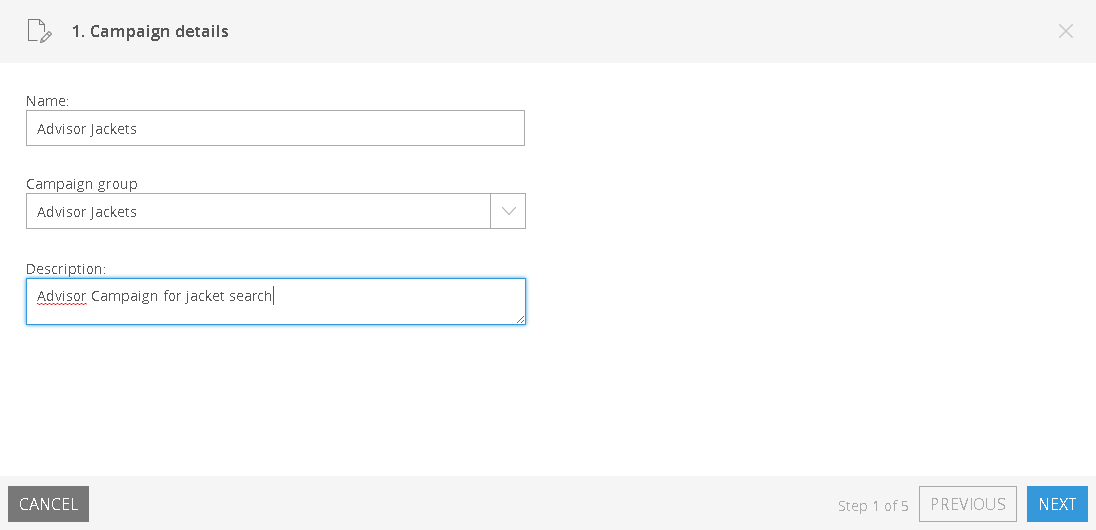
a. Campaign Details
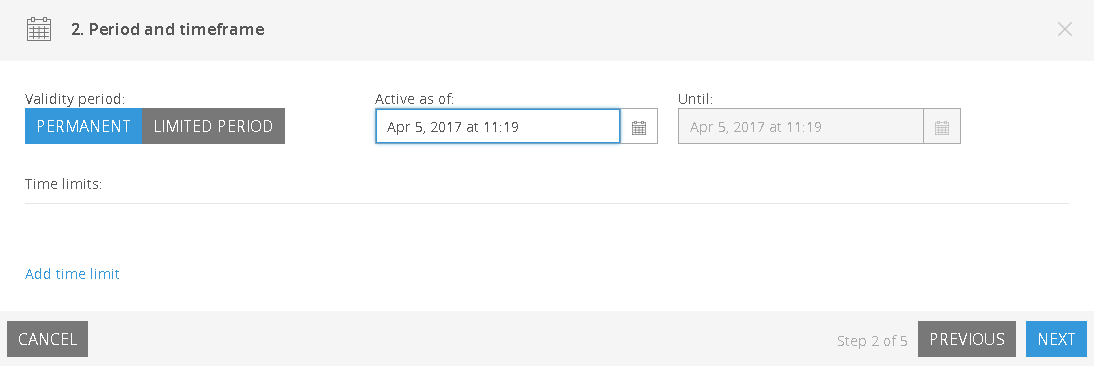
b. Period and Timeframe
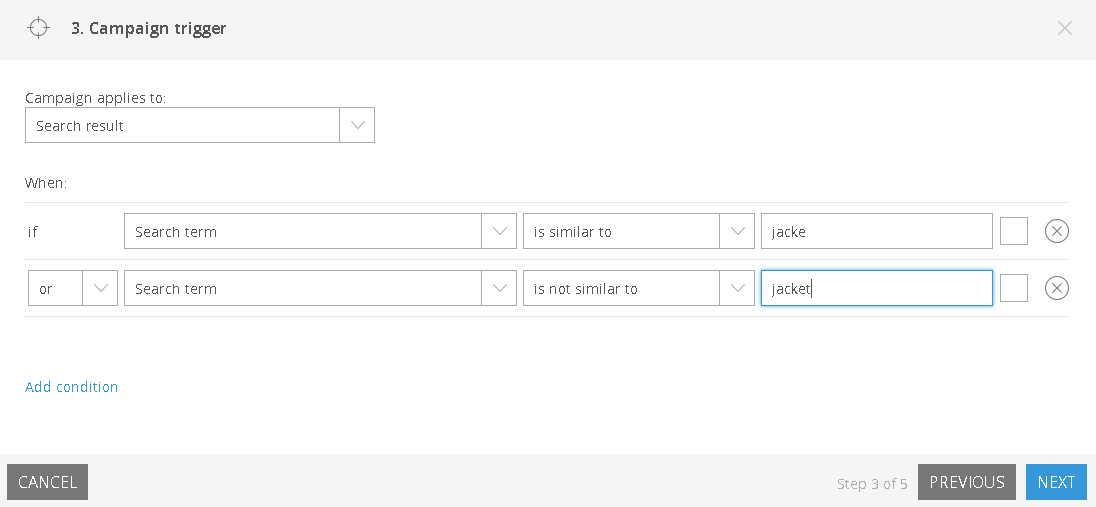
c. Campaign Trigger
2. Add a Question

First, click Add Question.
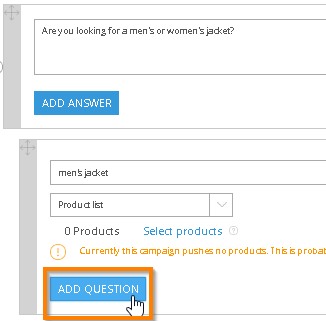
3. Enter Question Text
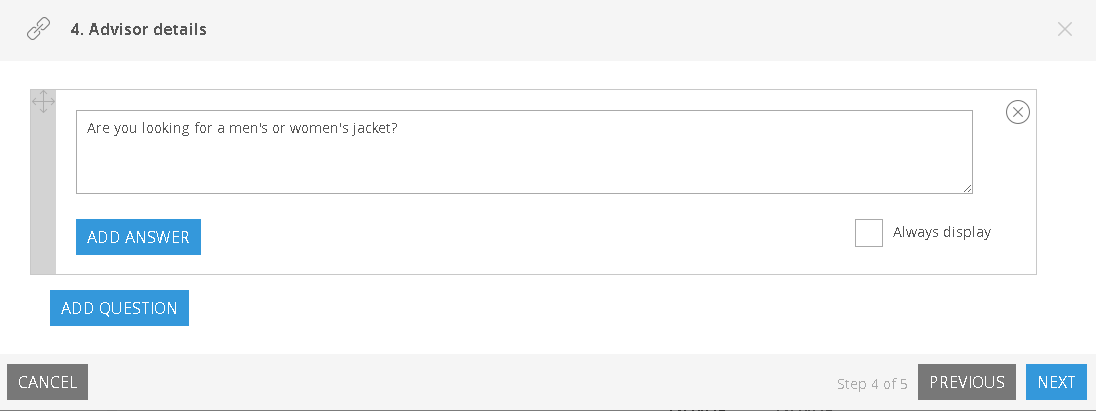
Enter the question into the popup window.
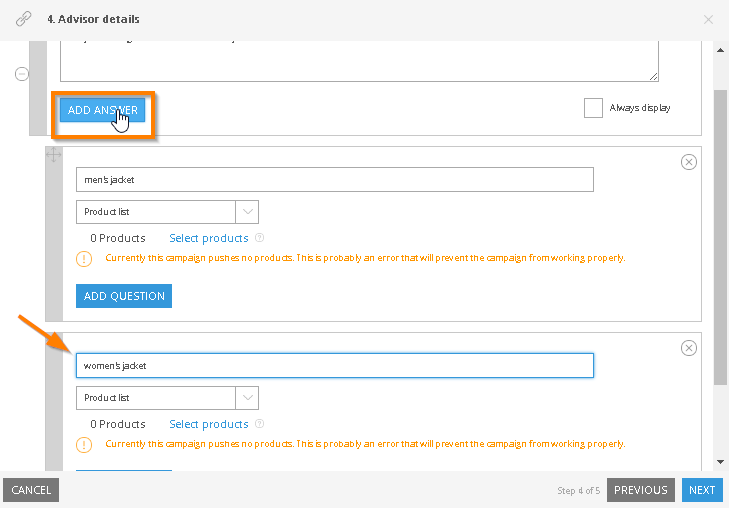
4. Add an Answer
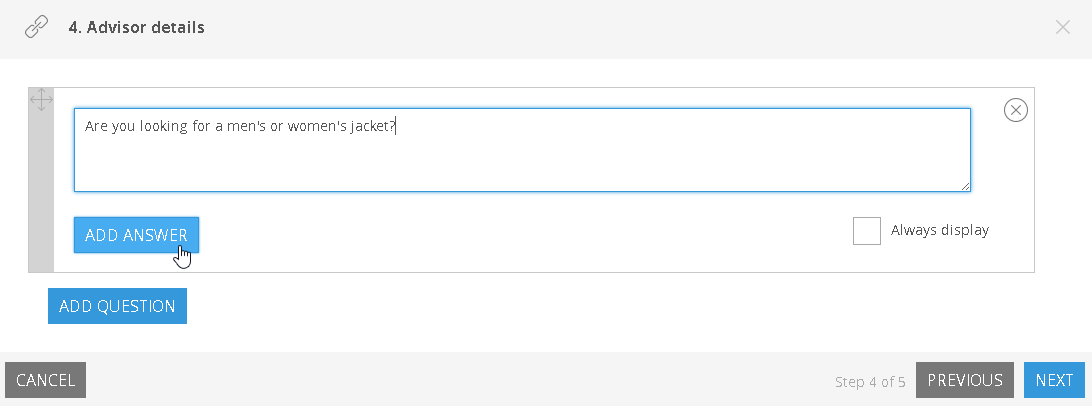
5. Enter Answer Text
Enter possible answers into the field.
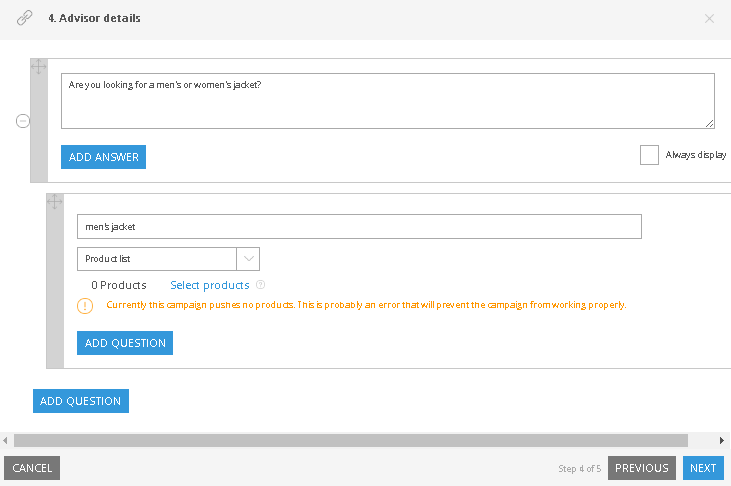
6. Choose Products for the Answers
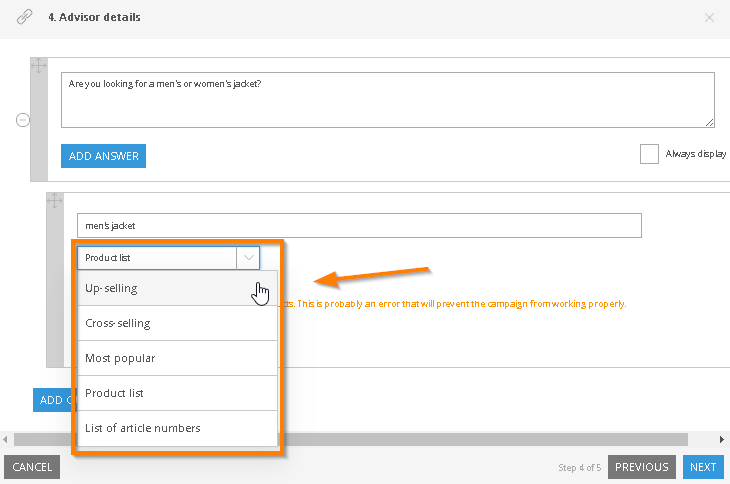
Each answer requires one set of products. You have multiple options:
- Up-Selling
- Cross-Selling
- Most popular
- Product list
- List of article numbers
Further setting options depend on your selection.
7. Add additional Questions
Normally, you want to offer the customer more than one possible answer. To do so, click Add question again and repeat the step.
You can narrow down the answers and their respective product groups by adding follow-up questions. Click Add Question below an answer and proceed normally.
This allows for a chained series of questions and answers.
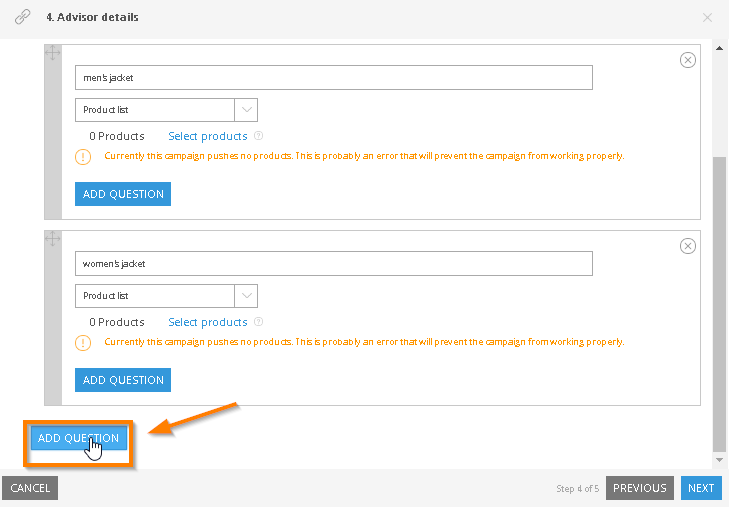
You can configure additional questions parallel to the first. Just click the Add Question button at the bottom.
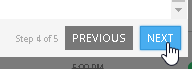
8. Click Next
9. Check the Campaign in Overview
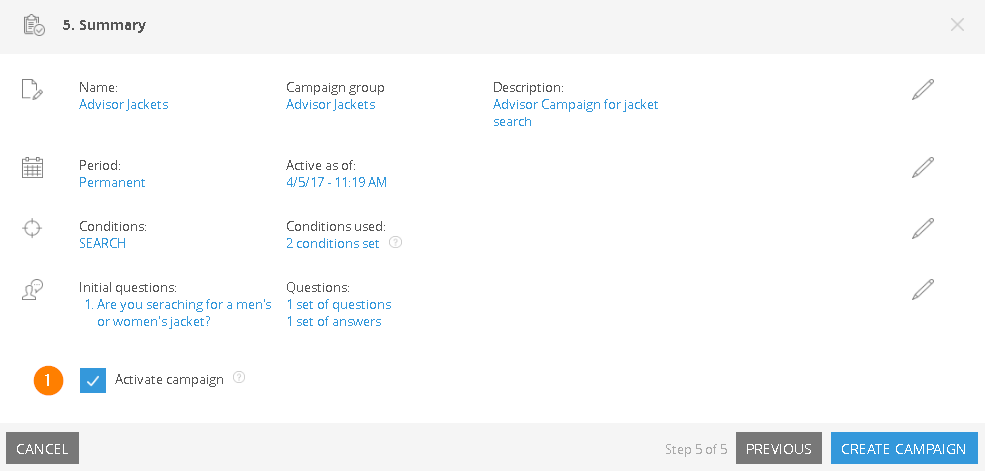
The last step is reviewing your settings in the campaign overview. To change them, click the respective links.
On this screen you can also decide, wether or not to release the campaign imemdiately (1). If the box is not checked, the campaign will be created, but not go active.
10. Click Create Campaign
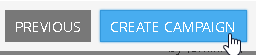
Click Create Camapaign. The new advisor campaign will now be listed with all existing campaigns. If you chose the option, the campaign will also go live.